Showing posts with label treat box. Show all posts

Winter Wedding Favor Box...

Hello!
How are you this morning, afternoon or evening!
If you've been following me for awhile you'll know that every Wednesday brings a 
special creation featuring Heartfelt Creations!

For this week I've decided to use the wonderful little box die that comes in the Snow Kissed Collection.  I had an idea for a winter themed wedding or shower with this little box paired with the gorgeous window die from the Botanic Orchid Collection.  

Let's take a look...


I chose to add some bridal type stamens to the poinsettias for this project to keep with the bridal theme.  I've heat embossed the flowers with white embossing powder along with the snowflakes.
The flowers have been stamped on a light blue patterned paper from the paper collection and then inked lightly with a blue ink.

Here's a bit of a closer look at the flower arrangement...

 
 The snowflakes have also been heat embossed and then inked with a platinum color ink to give them some shine.  The wooden word has been lightly painted with a white distress paint and then sponged with the platinum ink as well.

Here's a closer look without the little tulle drawstring bag of Hershey Kisses...


I can just picture a crafty bride and her bridesmaids sitting in a room where they've gathered together their manual die cutting machines, a bunch of inks in the colors of the wedding color palette and of course their shaping tools...ready to create these as table favors for their guests.  The beauty of this project is that you can change up the colors, flowers, etc. to match the theme of your wedding!  This would be equally as stunning using orchids, fuchsias, and even daisies!

I hope you've enjoyed today's share!
Pop on over to the Heartfelt Creations blog to see many more stunning winter and Christmas themed creations featuring the Snow Kissed Collection.

Until next time...

Project Supplies and Instructions
HCDP-1269 Snow Kissed Paper Collection
HCD1-7108 Snow Kissed Flakes and Tag Cling Stamp Set
HCD1-7108 Snow Kissed Flakes and Tag Die
HCD1-7109 Gift Box and Mini Snowflakes Die
HCD1-7100 Botanic Window Die
HCPC-3680 Sparkling Poinsettia Cling Stamp Set
HCD1-766 Sparkling Poinsettia Die
HCST1-401 Deluxe Flower Shaping Kit
159723 Designer Dries Clear Adhesive
352854 Metal Tip for Adhesive Bottles

Other Products Used:  BigShot die cutting machine, white embossing powder, heat tool, ColorBox Chalk Ink - French Blue, textured white card stock, plain white card stock, snowflake embossing folder, VersaFine Black Ink, Brilliance Dew Drop - Platinum Planit, sponge dauber, white flower stamens, wood cut out - Love, Ranger Distress Paint - Picket Fence, water, spritz bottle

Watch this video for shaping tips and techniques on the Sparkling Poinsettia flowers.

Die cut gift box and window pieces using textured white card stock.  Assemble box and adhere window to back of box.  Trim a panel piece, just slightly smaller than the front of the gift box from plain white card stock.  Dry emboss using manual die cutting machine and snowflake embossing folder.  Adhere to box front.  Locate a piece of light blue patterned paper from the Snow Kissed Paper Collection, stamp one inking of the Sparkling Poinsettia Cling Stamp Set and heat embosss using white embossing powder and heat tool.  Color using sponge daubers and a touch of blue ink.  Die cut using coordinating die.  Using flower shaping tools and spritz of water, shape one large double poinsettia and one smaller.  Once dry, pierce the flower centers with piercing tool and slip stamens through and adhere to back.  Adhere flowers to bax as shown.  Stamp one inking of the snowflake cluster from the Snow Kissed Flakes and Tag Cling Stamp Set onto plain white card stock.  Apply white embossing powder and heat set.  Sponge lightly with Platinum colored ink.  Die cut using coordinating die and adhere to box as shown.  Paint wood cut out word with white paint, allow to dry and then sponge with platinum ink.  Adhere to box.  

A Sweet Treat

Hello!
So glad you've been able to stop by for a quick visit with me today.  
Christmas is almost here...are you ready?

I have one last minute packaging and tag idea to share with you!
I'm popping in today with a reminder that our current challenge over at Holly Jolly Christmas Challenges is running until the end of the month, so you still have some time to join in with those last minute items you're still creating!
The Holly Jolly elves have all been busy prepping for their holiday season, and the blog has some new inspiration from all of us today...everything from cards, decor, packaging, etc. 

Here's a peek at the treat box I created for todays inspiration, along with the quick tag I created using the sponsor image "Snowman Bring It On" from The Stamping Boutique. (And just so you are aware, they are currently running a sale on all Christmas and Valentine digi stamps...time to stock up and score a savings at the same time!  Woot Woot!)


The treat box itself I cut with my Silhouette Cameo.  Makes it so quick and easy...it feels like you're cheating!  LOL  Pick your cutting file, pick your paper and let the machine do the cutting.  Assemble and voila...a fast but impressive creation!
I printed out the digi image in a circle with my Cameo as well, and colored with my Spectrum Noir markers. I added a touch of Glitter Ritz to the snowman to give him a little sparkler... add a ribbon and you're ready to fill with some delicious sweet treats!

I also wanted to let you know that we have some other wonderful sponsors for this challenge as well...

...as previously mentioned...

store 

...offering one lucky winner 3 images from their store...
...as well as...


who are offering one lucky winner 7 digis of their choice...

and welcome back...

finally the stamps you've been looking for rubber stamp company Rubber Stamps, Gold Leaf, Foil, and Glass Beads for Stampin, Scrapbooks, Card Making, and Paper Crafts 

...who are offering one lucky winner 5 digis of their choice from the store...

...also a proud sponsor...


...offering another lucky winner 3 images from their store...

...also sponsoring this challenge...


...and...

THE STUDIO...

...both offering 3 images from their shops...

So many chances to win!
Be sure to link up those last minute creations with us at Holly Jolly for your chances to be one of our lucky winners!  We can't wait to see what you have to show us!

Until next time...


Let's Make a Mess!

It's been a little quiet around here lately!  I've been busy in the craft room, but have had little time to post lately!  Thanks for sticking by me and coming for a visit today!

Today marks the beginning of a new monthly challenge over at the Unstampabelles.  Our challenge is "Dare to Get Dirty"...and our twist was to document the mess along the way with pictures.

We have a wonderful sponsor for this challenge...

Sticker Store Craft Stickers
http://www.stickerstore.com.au/

Be sure to check out the Unstampabelles blog for the prize being awarded!

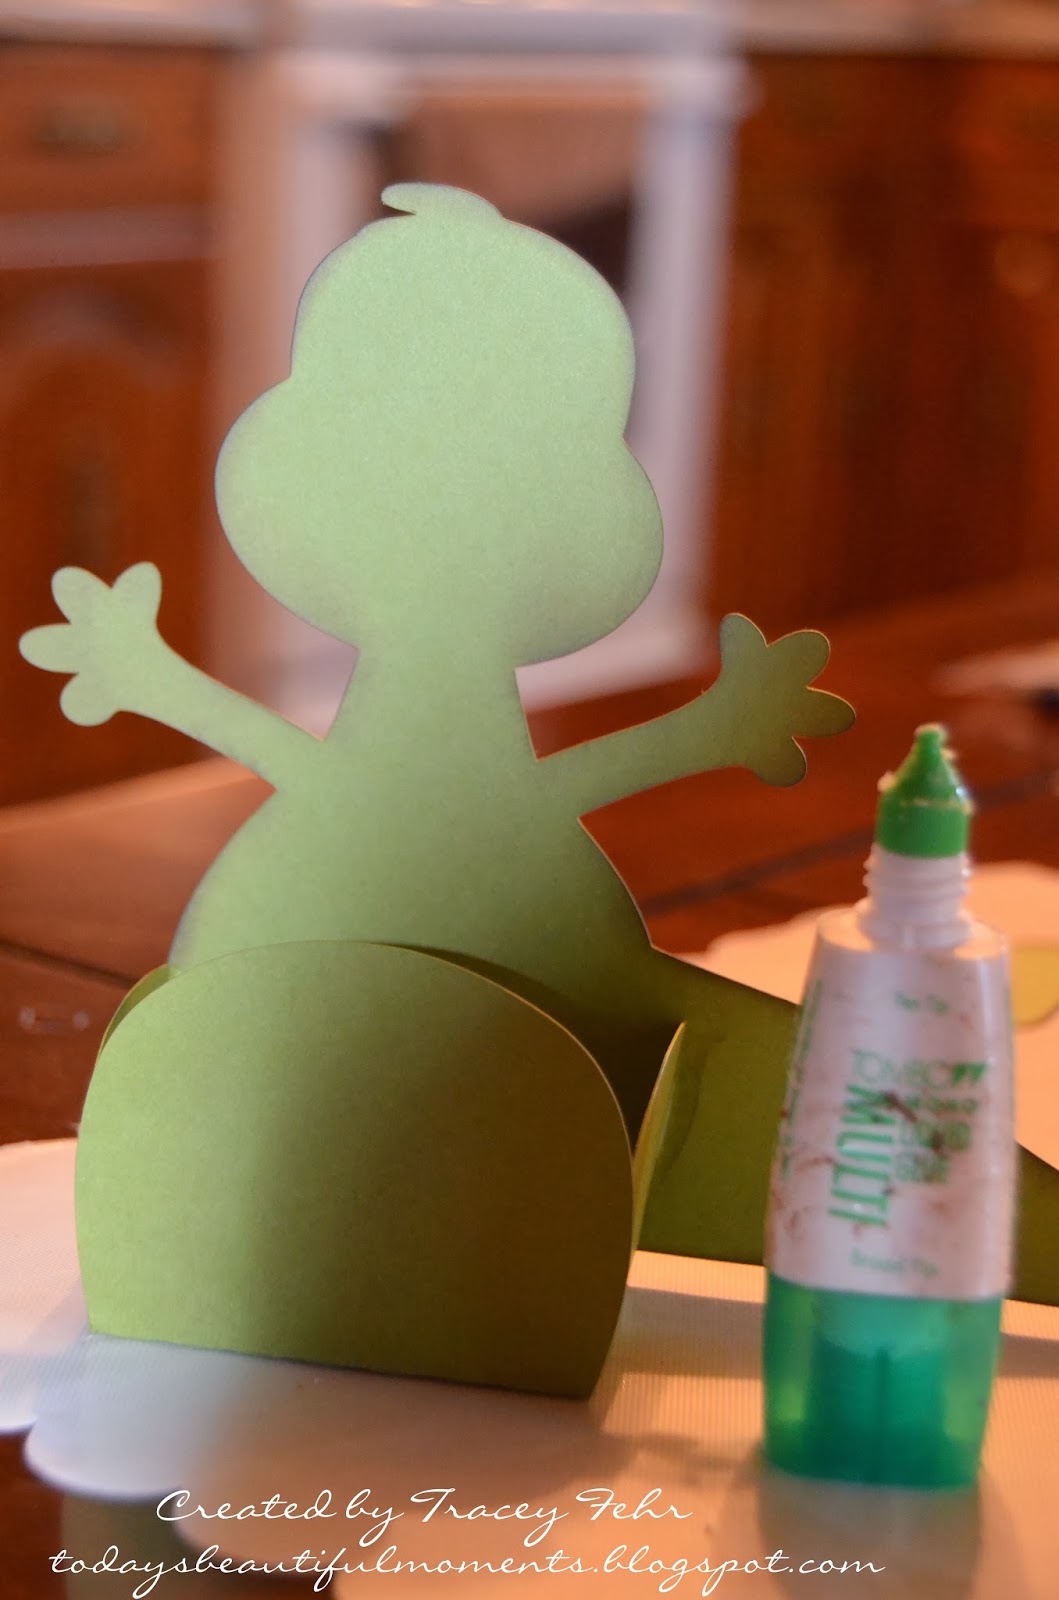
I will confess that I struggled with this one and wasn't sure which direction to go in.  It had been on my mind that my son needed Valentine's for his class party, and the store was not stocking anything that I felt was worthy of giving.  So, to get some inspiration I read over the "Ideas for Creations" which you can find on the tabs on the Unstampabelles challenge blog.  Well, the word "box" just jumped out at me.  I had a cutting file for my Silhouette from My Scrap Chick that I had been wanting to use which was a box treat card all in one! Now cutting with that machine can sure get messy with all the tiny pieces, and all the pieces need to be inked, glued, etc...but my version of "dirty" may be a little cleaner than others...I hope this works for you! 

Let me walk you through this "messy/dirty" process with a few pics...

As you can see, it all starts out in little pieces in a somewhat organized mess...


The next step is to ink each piece individually...my fingers never stay clean in this process...


...and neither does my Splat Mat...


...and the glue...what can I say about this glue other than I despise it!  This glue is so sticky, my fingers are a complete mess by the time I'm done.  As you can see the glue bottle itself is is a complete mess...just from me handling it with the crazy stuff on my fingers.  And, it's almost impossible to wash off your hands when you're done...it sorta rubs off a while later.  But, I bought it...so I must use it!  LOL


We're getting closer to the finished creation...the shape is taking place...


Just let me get my fingers unstuck...I'll add some features and the remaining parts to this little guy....and...

 ...here's the finished project!


I'm happy to report our son loved this and is excited to be handing these one of a kind Valentine cards out in school at his party!  I guess I better get working because I have 16 more to make!

So, dig out those inks, paints, whatever you think you can make a creative mess with and get creating.  Don't forget to link up with us at the Unstampabelles so we can see your mess.  Remember our only rules are that your project needs to be a paper craft and you are not allowed to use any stamps on your creation.  Don't worry, it's not as hard as it sounds!

Until next time...

This creation has been shared in the following challenges...
Ladybug Crafts..."Be Mine"
Seemacrafts..."Valentine/Love"
A Gem of A Challenge..."All You Need is Love"
My Sheri Crafts..."Valentine - Use a Heart"
Open Minded Crafting Fun Challenges..."Show Some Love"
Delightful Challenges..."Anything but a Card...Love Theme"
Decorate to Celebrate..."Valentine Treat Bag"
Little Red Wagon..."Child's Play"
Challenges 4 Everybody..."Anything Goes"
Robyn's Fetish Challenge Blog..."Valentine Cards"

Thanks for visiting!

Thanks for visiting!