
I hope you've been enjoying the new Farmer's Market Collection by Heartfelt Creations.
As mentioned last week, this has to be one of my all time favorite collections!
When I first opened the sweet package of goodies, I had so many ideas running through my head, and couldn't wait to get creating!
One of the ideas I had was for a Birthday Gift Set of little note cards, presented in an adorable berry basket. I thought it would be super cute paired with a homemade jar of jam, or a nail polish that was named after raspberries.
Well, needless to say I got the Silhouette Cameo humming and chose some of those fabulous pre made card panels that Heartfelt does so well and whipped up this little set in no time.
Here's a peek...

Wouldn't you just love to receive a little package like that!?!?
I know I sure would have fun giving a little package like that!
As you can see, I've bundled the cards together with bakers twine as well as one of the adorable tags that comes from the Farmers Market collection itself.
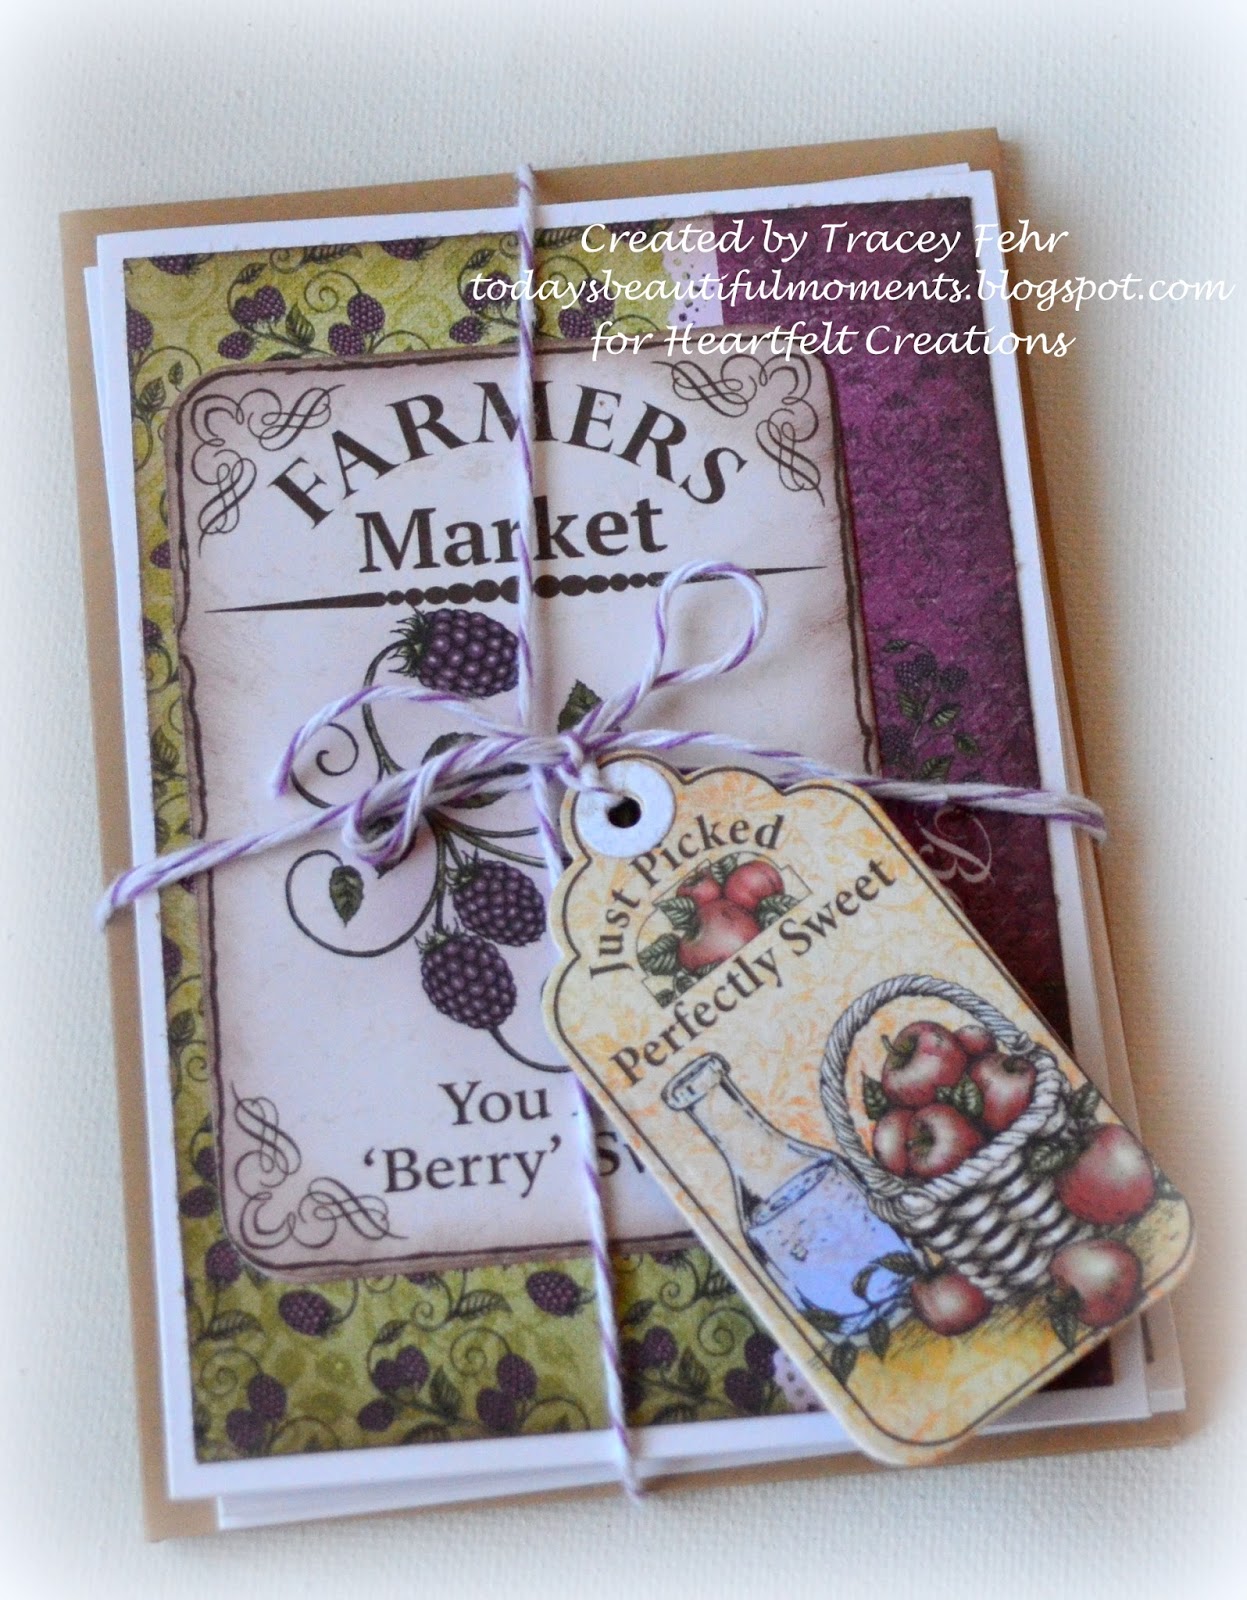
And, here's a look at the three cards I've included in the gift set...

I love giving card sets as gifts...it's something that most people will use (hopefully) and are consumable rather than being more clutter that needs to be dusted, etc.
The little premade card panels in this collection make these sweet little cards so quick and easy to make!
And who can forget those beautiful ripe raspberries on the vine!
I thought they would look perfect flowing out of the basket...

I thought some pretty lace and some moss as a finishing touch made this project adorable!
Hopefully you agree!
I do hope you've been inspired and you give this a go yourself the next time you are needing a garden party idea, or are wanting to gift a special someone who loves to garden or has a raspberry addiction! It can be used for so many different occasions by just changing the sentiment you use on the container. And, if raspberries is not the fruit you're calling for...Heartfelt has you covered in the apple and peach department as well in this collection!
Be sure to check out the Heartfelt Creations blog if you have not done so already today!
This collection has brought out all the extra creative juices in the design team and they have all done an amazing job with the Farmers Market products!
(P.S. Don't wait too long to purchase yours as I do believe this is gonna be extremely popular!)
That's all for me today!
Thanks for stopping in for a visit!
I'd love to hear what you think of this little project, so don't be shy...feel free to leave me a comment below!
Until next time...
Project Supplies & Instructions
HCDP1-257 Farmers Market Designer Paper Pack
HCPC 3685 Jars and Vines Cling Stamp Set
HCPC 3689 Berries and Peaches Cling Stamp Set
HCD1-767 Jars and Vines Die
HCD1-777 Farmers Market Fruit Die
HCD1-745 Luggage and Tags Die
HCD2-750 Cut Mat Create 1B Die
HCST1-401 Deluxe Flower Shaping Tool Kit
SMP001 Rubber Stamp Mat Pad
273900 Zip Dry Paper Glue
Other Products Used: blank note sized cards and envelopes, kraft card stock, VersaFine black ink, Silhouette Cameo electronic die cutting machine, Silhouette Design Store Design ID #30632, ruffled lace trim, bakers twine, moss, VersColor Pine Cone ink, scissors, paper trimmer, BigShot manual die cutting machine, scor tape, 3D pop dots, Spectrum Noir Pencils 107, 093, 094, 095, 097, 103, 031, 041, 042, 046, 047, 053, 058, 108. 120, Spectrum Noir blending stump and blending solution, water spritz bottle, water
Berry Basket - begin by cutting basket file with your electronic die cutting machine and kraft colored paper. Assemble basket according to file directions. Once adhesive has dried ink all edges with a light brown ink. Locate the image strip in the paper collection that you wish to use as the decorative edge on the basket. Trim to size, ink all edges with light brown ink and adhere to berry basket using foam 3D pop dots. Adhere the flat side of the ruffled lace trim to inside of container with the ruffle facing the top of the basket. Fill with decorative moss. Stamp one inking of the larger raspberries image, and several of the smaller raspberry image. Color using Spectrum Noir blendable pencils and blending solution, and then die cut using manual die cutting machine and coordinating metal dies. Shape berries ever so slightly using deluxe flower shaping tools and a light mist of water. Stamp several vine images, color and once again die cut using the coordinating metal die. Shape with a light spray of water and the deluxe flower shaping tool kit. Adhere large raspberry cluster to berry basket, allowing it to droop over to the inside as well giving them the appearance of tumbling out of the basket. Add in several of the smaller raspberry clusters over top using foam 3D pop dots. Add vines to berry clusters as desired. Locate sentiment you wish to use on the gift box, trim from paper pack and ink all edges using a light brown ink color. Adhere to gift box using foam 3D pop dots.
Cards: Locate the three smaller pre made card panels as shown, and die cut using the Cut Mat Create die. Choose the background paper you wish to use and trim slightly smaller than the card front to leave a small white border all the way around the background paper. Ink edges of all card pieces with a light brown colored ink. Adhere background papers to card fronts, and then adhere small pre made card panels to coordinating card using foam 3D pop dots. Using the Luggage and Tags die, die cut the tag you wish to use to attach to the card set. Bundle card set using bakers twine and adhere tag. Place cards in berry basket, and present to a special friend or loved one who is celebrating a "berry" special birthday!
HCDP1-257 Farmers Market Designer Paper Pack
HCPC 3685 Jars and Vines Cling Stamp Set
HCPC 3689 Berries and Peaches Cling Stamp Set
HCD1-767 Jars and Vines Die
HCD1-777 Farmers Market Fruit Die
HCD1-745 Luggage and Tags Die
HCD2-750 Cut Mat Create 1B Die
HCST1-401 Deluxe Flower Shaping Tool Kit
SMP001 Rubber Stamp Mat Pad
273900 Zip Dry Paper Glue
Other Products Used: blank note sized cards and envelopes, kraft card stock, VersaFine black ink, Silhouette Cameo electronic die cutting machine, Silhouette Design Store Design ID #30632, ruffled lace trim, bakers twine, moss, VersColor Pine Cone ink, scissors, paper trimmer, BigShot manual die cutting machine, scor tape, 3D pop dots, Spectrum Noir Pencils 107, 093, 094, 095, 097, 103, 031, 041, 042, 046, 047, 053, 058, 108. 120, Spectrum Noir blending stump and blending solution, water spritz bottle, water
Berry Basket - begin by cutting basket file with your electronic die cutting machine and kraft colored paper. Assemble basket according to file directions. Once adhesive has dried ink all edges with a light brown ink. Locate the image strip in the paper collection that you wish to use as the decorative edge on the basket. Trim to size, ink all edges with light brown ink and adhere to berry basket using foam 3D pop dots. Adhere the flat side of the ruffled lace trim to inside of container with the ruffle facing the top of the basket. Fill with decorative moss. Stamp one inking of the larger raspberries image, and several of the smaller raspberry image. Color using Spectrum Noir blendable pencils and blending solution, and then die cut using manual die cutting machine and coordinating metal dies. Shape berries ever so slightly using deluxe flower shaping tools and a light mist of water. Stamp several vine images, color and once again die cut using the coordinating metal die. Shape with a light spray of water and the deluxe flower shaping tool kit. Adhere large raspberry cluster to berry basket, allowing it to droop over to the inside as well giving them the appearance of tumbling out of the basket. Add in several of the smaller raspberry clusters over top using foam 3D pop dots. Add vines to berry clusters as desired. Locate sentiment you wish to use on the gift box, trim from paper pack and ink all edges using a light brown ink color. Adhere to gift box using foam 3D pop dots.
Cards: Locate the three smaller pre made card panels as shown, and die cut using the Cut Mat Create die. Choose the background paper you wish to use and trim slightly smaller than the card front to leave a small white border all the way around the background paper. Ink edges of all card pieces with a light brown colored ink. Adhere background papers to card fronts, and then adhere small pre made card panels to coordinating card using foam 3D pop dots. Using the Luggage and Tags die, die cut the tag you wish to use to attach to the card set. Bundle card set using bakers twine and adhere tag. Place cards in berry basket, and present to a special friend or loved one who is celebrating a "berry" special birthday!


