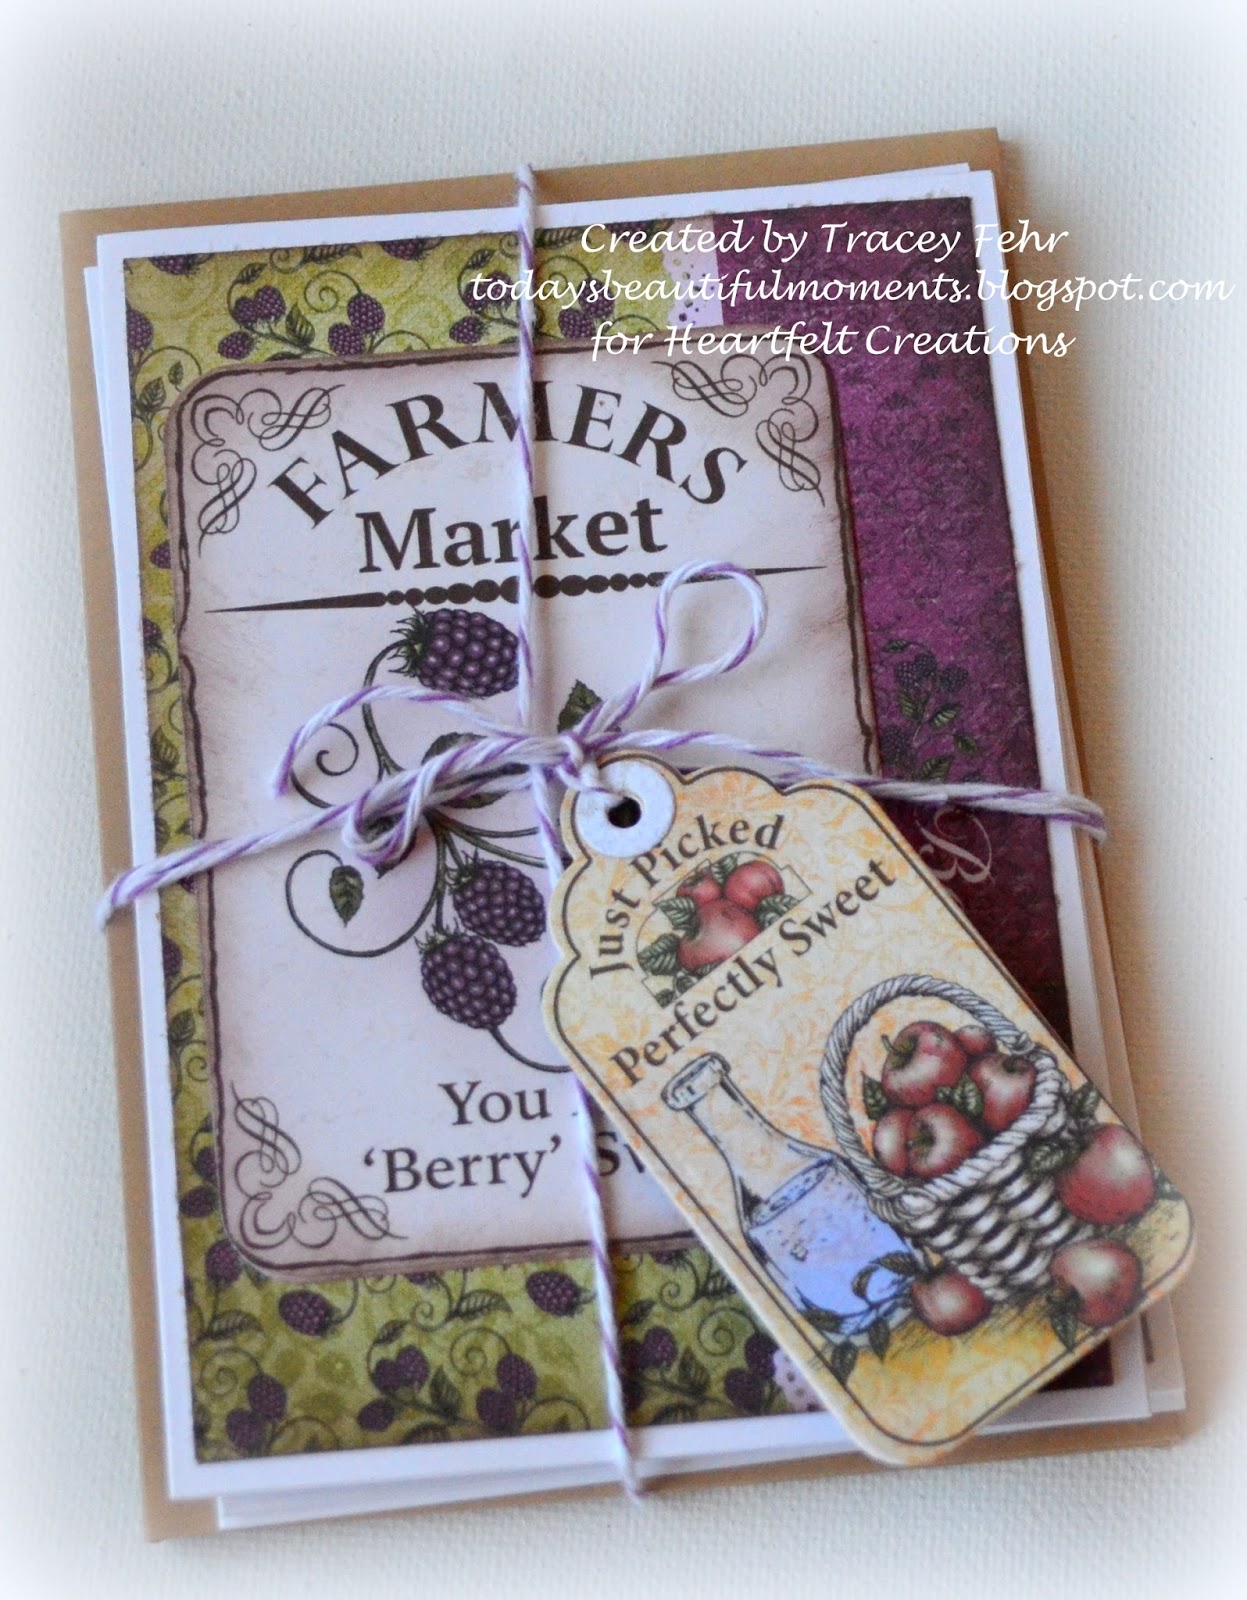
I just cannot believe that we are starting into September... the leaves have started to change color here in Manitoba, Canada. The evenings are starting to cool off enough that you need to have a sweater along wherever you go. The camping season is coming to an end, and our kiddos go back to school in a week!
I do have a confession though... I love fall! I love the cooler weather...I love sweaters...I love the colors and smells of the season...and I love the routine that starts again when school is once again in session! Now, since fall is on it's way, that means that the trips to the Farmers Markets are fast coming to an end...and I thought I would take you on one last trip to visit the Farmers Market with Heartfelt Creations!
This week I've created a card with this wonderful collection.
You'll be able to see that fall has been on my mind in the color scheme of the card and flowers.
The other inspiration that I drew my creativity from was "depression glass". You know the colored glassware that was created during the depression era. It comes in a variety of colors. I love to see displays of depression glass when I visit our local thrift or antique stores.
Well...enough rambling...
...here's a peek...

I must admit that this card did not turn out exactly as I had imagined. While I like it, I still think it's a little bit of a hot mess! LOL
I've stamped the jar images onto the blue patterned card stock included in the Farmers Market Collection. They have been mounted onto the card slightly overlapping one another using 3D pop dots. I've then used Glossy Accents to give a shine to different parts of the jugs. I've stamped the olive branch images onto the same paper as well and adhered them in front of the glassware. I've then stamped and fussy cut the sentiment stamp in the same blue paper and adhered it over the water jugs and branches using pop dots as well. I've created several different colors of daisies and clustered them around the sentiment. I've used Stickles and Ivory Flower Soft on the brownish toned flowers and decided to go with a shimmering centre on the smaller blossoms.
Here's a closer look at how the flowers turned out...

I've also used some dew drops on the a few of the flower petals and leaves.
I hope I've been able to inspire you on some level today!
The Heartfelt Creations blog is chalked full of new inspiration today, so be sure to stop by there for a visit! My teammates always do such a fantastic job coming up with new and unique ideas to inspire you!
Until next time...
Project Supplies and Instructions
HCDP1-257 Farmers Market Paper Collection
HCPC-3688 Veggie Collage Cling Stamp Set
HCPC-3686 Jars and Accents Cling Stamp Set
HCPC-3685 Jars and Vines Cling Stamp Set
HCPC-3687 Jug of Herbs Cling Stamp Set
HCD1-767 Jars and Vines Die
HCD1-777 Farmers Market Fruit Die
HCPC-3656 Delightful Daisies Cling Stamp Set
HCD1-760 Delightful Daisy Die
HCD2-751 Cut Mat Create 2A Die
HCD2-752 Cut Mat Create 2B Die
HCST1-401 Deluxe Flower Shaping Kit
SMP001 Stamp Mat Pad
TSMP607 Memento Dye Ink Pad - Nautical Blue
TSMP802 Memento Dye Ink Pad - Peanut Brittle
TSMP808 Memento Dye Ink Pad - Espresso Truffle
159723 Art Institute Glue - Dries Clear
352854 Metal Glue Tip - Art Institute
Other Products Used: Big Shot manual die cutting machine, Ivory Flower Soft, Diamond Stickles, white card stock, kraft card stock, washi tape, Dew Drops - Sunflower, glass look flower centres, Stampin Up Embossing Folder - Spring Flowers, scor tape, 3D pop dots, lace, scissors, paper trimmer, sponge finger daubers, water, mist bottle, Elmers Glue - Craft Bond Quick Dry, Glossy Accents
Create 5"x7" card base using white card stock. Choose a patterned paper from within the Farmers Market Paper Collection that you wish to use as a background. Cut slightly smaller than your card base to leave a white edge around the card front. Cut a piece of kraft card stock slightly smaller than the background and emboss using embossing folder and manual die cutting machine. Locate the preprinted card panel in the paper collection, and trim down as shown. Mask off area of preprinted card panel that you do not wish to have the vegetable stamp image to overlap onto. Stamp image using a dark blue ink. Adhere lace strip to back of stamped image panel, and then adhere the panel to embossed kraft colored paper. Using 3D pop dots adhere the stamped image layers to the background paper. Adhere card front to card base. Using the same dark blue ink, stamp the jar images once onto a blue patterned paper found in the paper collection. Adhere to card with 3D pop dots, slightly overlapping each bottle in the grouping. Once again using the blue ink, stamp the sentiment banner and fussy cut. Adhere to bottle grouping using 3D pop dots. Using craft colored card stock, die cut one fancy corner die cut from the Cut Mat Create 2B die and adhere to upper corner where flower cluster will be added. Continuing with the kraft colored card stock, die cut several cuttings of the vine border from the Cut Mat Create 2A die. Stamp several inkings of the daisy images using a lighter brown color. Lightly add some darker brown ink to the petals of the larger flowers using sponge finger daubers. Apply a yellow color to each of the larger flower centres. The smaller daisies remain white. Using a mist of water and your deluxe flower shaping tools, shape each flower. (For full video instructions on shaping the daisy flowers in this project, please see here. https://www.youtube.com/watch?v=quxqv6wJRic) Arrange flowers in clusters around the bottle and sentiment images. Once happy with arrangement, adhere to card. Repeat for top corner flower cluster. Next, snip into sections the kraft colored card stock vine die cuts you prepared earlier. Shape and adhere among flower groupings as desired. Apply Stickles to large daisies, and glass like centres to the smaller. For the large flower centres, drop in a larger rounded mound of Elmers Glue Craft Bond - Quick Dry and place Flower Soft on top. Allow to dry. Apply a few dew drops onto flower petals and leaves, as well as a few pieces of decorative washi tape onto card as desired. Lastly, apply a touch of Glossy Accents to your bottle images to give them the appearance of glass. You now have a completed all occasion card ready to gift and bless someone with!
This week I've created a card with this wonderful collection.
You'll be able to see that fall has been on my mind in the color scheme of the card and flowers.
The other inspiration that I drew my creativity from was "depression glass". You know the colored glassware that was created during the depression era. It comes in a variety of colors. I love to see displays of depression glass when I visit our local thrift or antique stores.
Well...enough rambling...
...here's a peek...

I must admit that this card did not turn out exactly as I had imagined. While I like it, I still think it's a little bit of a hot mess! LOL
I've stamped the jar images onto the blue patterned card stock included in the Farmers Market Collection. They have been mounted onto the card slightly overlapping one another using 3D pop dots. I've then used Glossy Accents to give a shine to different parts of the jugs. I've stamped the olive branch images onto the same paper as well and adhered them in front of the glassware. I've then stamped and fussy cut the sentiment stamp in the same blue paper and adhered it over the water jugs and branches using pop dots as well. I've created several different colors of daisies and clustered them around the sentiment. I've used Stickles and Ivory Flower Soft on the brownish toned flowers and decided to go with a shimmering centre on the smaller blossoms.
Here's a closer look at how the flowers turned out...

I've also used some dew drops on the a few of the flower petals and leaves.
I hope I've been able to inspire you on some level today!
The Heartfelt Creations blog is chalked full of new inspiration today, so be sure to stop by there for a visit! My teammates always do such a fantastic job coming up with new and unique ideas to inspire you!
Until next time...
Project Supplies and Instructions
HCDP1-257 Farmers Market Paper Collection
HCPC-3688 Veggie Collage Cling Stamp Set
HCPC-3686 Jars and Accents Cling Stamp Set
HCPC-3685 Jars and Vines Cling Stamp Set
HCPC-3687 Jug of Herbs Cling Stamp Set
HCD1-767 Jars and Vines Die
HCD1-777 Farmers Market Fruit Die
HCPC-3656 Delightful Daisies Cling Stamp Set
HCD1-760 Delightful Daisy Die
HCD2-751 Cut Mat Create 2A Die
HCD2-752 Cut Mat Create 2B Die
HCST1-401 Deluxe Flower Shaping Kit
SMP001 Stamp Mat Pad
TSMP607 Memento Dye Ink Pad - Nautical Blue
TSMP802 Memento Dye Ink Pad - Peanut Brittle
TSMP808 Memento Dye Ink Pad - Espresso Truffle
159723 Art Institute Glue - Dries Clear
352854 Metal Glue Tip - Art Institute
Other Products Used: Big Shot manual die cutting machine, Ivory Flower Soft, Diamond Stickles, white card stock, kraft card stock, washi tape, Dew Drops - Sunflower, glass look flower centres, Stampin Up Embossing Folder - Spring Flowers, scor tape, 3D pop dots, lace, scissors, paper trimmer, sponge finger daubers, water, mist bottle, Elmers Glue - Craft Bond Quick Dry, Glossy Accents
Create 5"x7" card base using white card stock. Choose a patterned paper from within the Farmers Market Paper Collection that you wish to use as a background. Cut slightly smaller than your card base to leave a white edge around the card front. Cut a piece of kraft card stock slightly smaller than the background and emboss using embossing folder and manual die cutting machine. Locate the preprinted card panel in the paper collection, and trim down as shown. Mask off area of preprinted card panel that you do not wish to have the vegetable stamp image to overlap onto. Stamp image using a dark blue ink. Adhere lace strip to back of stamped image panel, and then adhere the panel to embossed kraft colored paper. Using 3D pop dots adhere the stamped image layers to the background paper. Adhere card front to card base. Using the same dark blue ink, stamp the jar images once onto a blue patterned paper found in the paper collection. Adhere to card with 3D pop dots, slightly overlapping each bottle in the grouping. Once again using the blue ink, stamp the sentiment banner and fussy cut. Adhere to bottle grouping using 3D pop dots. Using craft colored card stock, die cut one fancy corner die cut from the Cut Mat Create 2B die and adhere to upper corner where flower cluster will be added. Continuing with the kraft colored card stock, die cut several cuttings of the vine border from the Cut Mat Create 2A die. Stamp several inkings of the daisy images using a lighter brown color. Lightly add some darker brown ink to the petals of the larger flowers using sponge finger daubers. Apply a yellow color to each of the larger flower centres. The smaller daisies remain white. Using a mist of water and your deluxe flower shaping tools, shape each flower. (For full video instructions on shaping the daisy flowers in this project, please see here. https://www.youtube.com/watch?v=quxqv6wJRic) Arrange flowers in clusters around the bottle and sentiment images. Once happy with arrangement, adhere to card. Repeat for top corner flower cluster. Next, snip into sections the kraft colored card stock vine die cuts you prepared earlier. Shape and adhere among flower groupings as desired. Apply Stickles to large daisies, and glass like centres to the smaller. For the large flower centres, drop in a larger rounded mound of Elmers Glue Craft Bond - Quick Dry and place Flower Soft on top. Allow to dry. Apply a few dew drops onto flower petals and leaves, as well as a few pieces of decorative washi tape onto card as desired. Lastly, apply a touch of Glossy Accents to your bottle images to give them the appearance of glass. You now have a completed all occasion card ready to gift and bless someone with!